Your Ultimate Florida Roofer Guide: How to Choose the Best Contractor

The Importance of Local Expertise in Florida

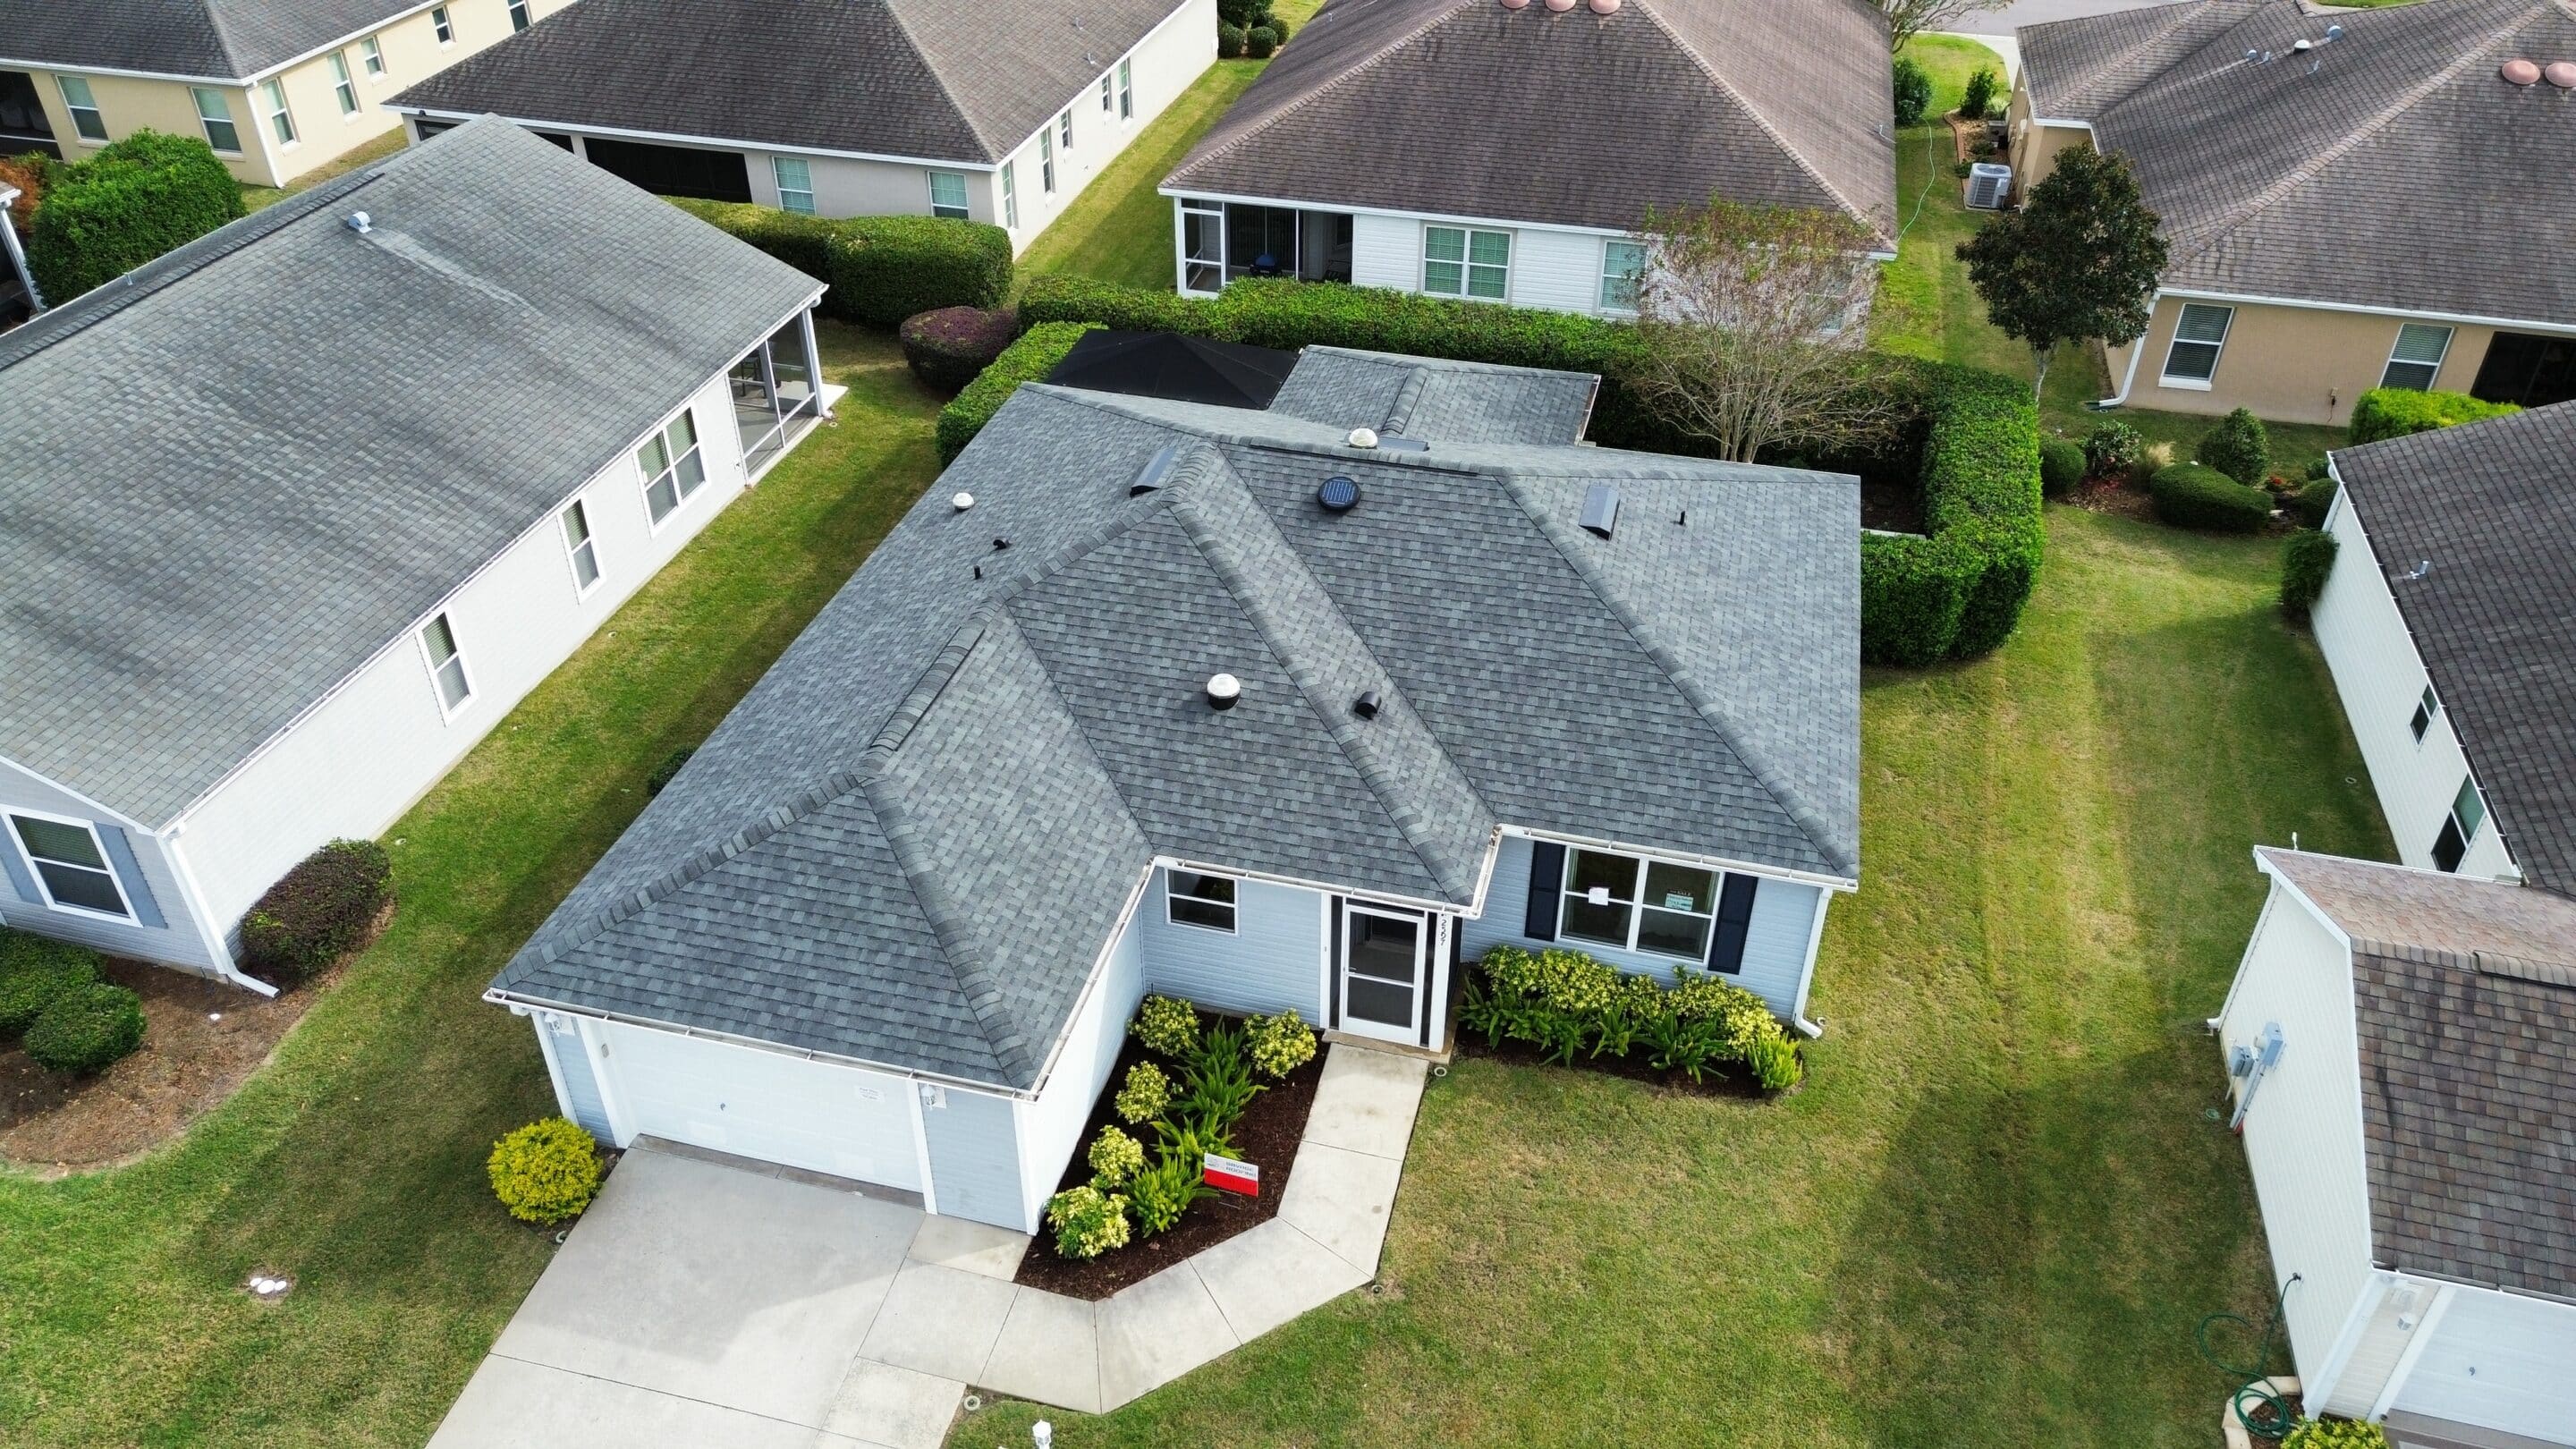
When it comes to selecting a Roofing contractor in the Sunshine State, local experience is more than just a bonus—it’s a necessity. Florida’s climate, with its scorching sun, torrential rains, and hurricane-force winds, demands a roofer who understands these specific challenges. A roofer with local experience knows how to craft a roof that not only looks good but also stands the test of time. For anyone considering a roofing project, it’s wise to -.

  • Key Points to Consider:
    • Familiarity with local weather conditions ensures your roof is built to last.
    • Local roofers are well-versed in Florida’s building codes and regulations.
    • Quick response times during emergencies, a hallmark of a reliable local roofer.

Benefits of Hiring a Local Roofer

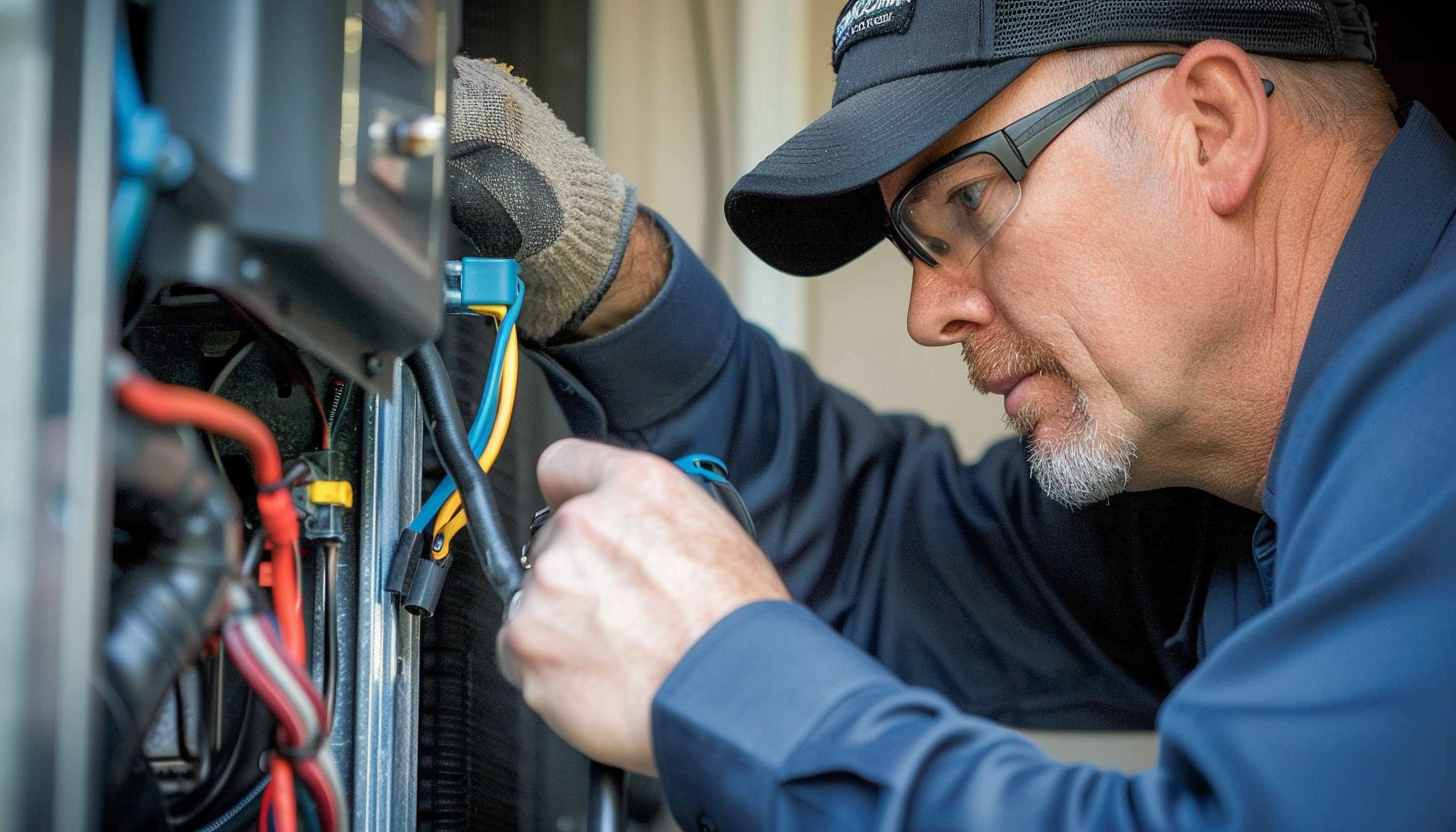
Hiring a local roofer in Florida has several advantages. They are not only aware of the specific needs that Florida’s climate imposes but also know how to work efficiently within the state’s regulations.

  • Why Choose Local?
    • Community Trust: Local roofers rely on their reputation. They are more likely to deliver top-tier services to maintain their standing in the community.
    • Rapid Response: When disaster strikes, a local roofer can be at your door quickly, reducing potential damage.
    • Tailored Solutions: With a deep understanding of the climate, local roofers can recommend roofing materials that are best suited for Florida’s harsh weather.

By opting for a local contractor, you’re choosing someone who knows the ropes of roofing in Florida. This Florida roofer guide emphasizes the importance of trusting local experts who have proven their reliability over time.

Credentials Matter: Verify Before You Hire

Before you sign on the dotted line, it’s crucial to verify that your chosen roofer is licensed and insured. In Florida, where roofing projects can be complex due to weather conditions and specific building codes, this step is non-negotiable.

  • License and Insurance: Protect yourself by ensuring your roofer holds a valid Florida license and adequate insurance coverage.
  • Verification: Visit the Florida Department of Business and Professional Regulation (DBPR) to check the roofer’s credentials.
  • Certifications: Roofers with manufacturer certifications often provide better warranties and demonstrate a higher level of expertise.

Verifying these credentials is a cornerstone of this Florida roofer guide. It ensures that your roofer is qualified to handle the unique demands of Florida roofing projects.

The Power of Professional Affiliations and Certifications

Roofers who go the extra mile to obtain certifications and join professional organizations are committed to excellence. This commitment often translates into better workmanship and longer-lasting results.

  • Manufacturer Certifications: These certifications indicate that a roofer has undergone specialized training and can offer superior warranties.
  • Professional Affiliations: Membership in organizations like the National Roofing Contractors Association (NRCA) is a sign of professionalism and dedication to staying updated with industry standards.

Using this Florida roofer guide, ensure your contractor has the right credentials and affiliations to guarantee the quality of your roofing project. To ensure the longevity of your roof, you should always -.

Experience and Quality: The Hallmarks of a Reliable Roofer

Experience is often a predictor of quality. A roofer with a long track record in Florida likely knows how to deliver high-quality services that meet the state’s specific needs.

  • Years in Business: Longevity in the industry is a good indicator of reliability and expertise.
  • Specialization: Different roofing materials require different skill sets. Ensure your roofer specializes in the type of roofing material you need.

This Florida roofer guide highlights the importance of choosing a contractor who has both experience and specialization to ensure your roof can withstand Florida’s unique climate challenges.

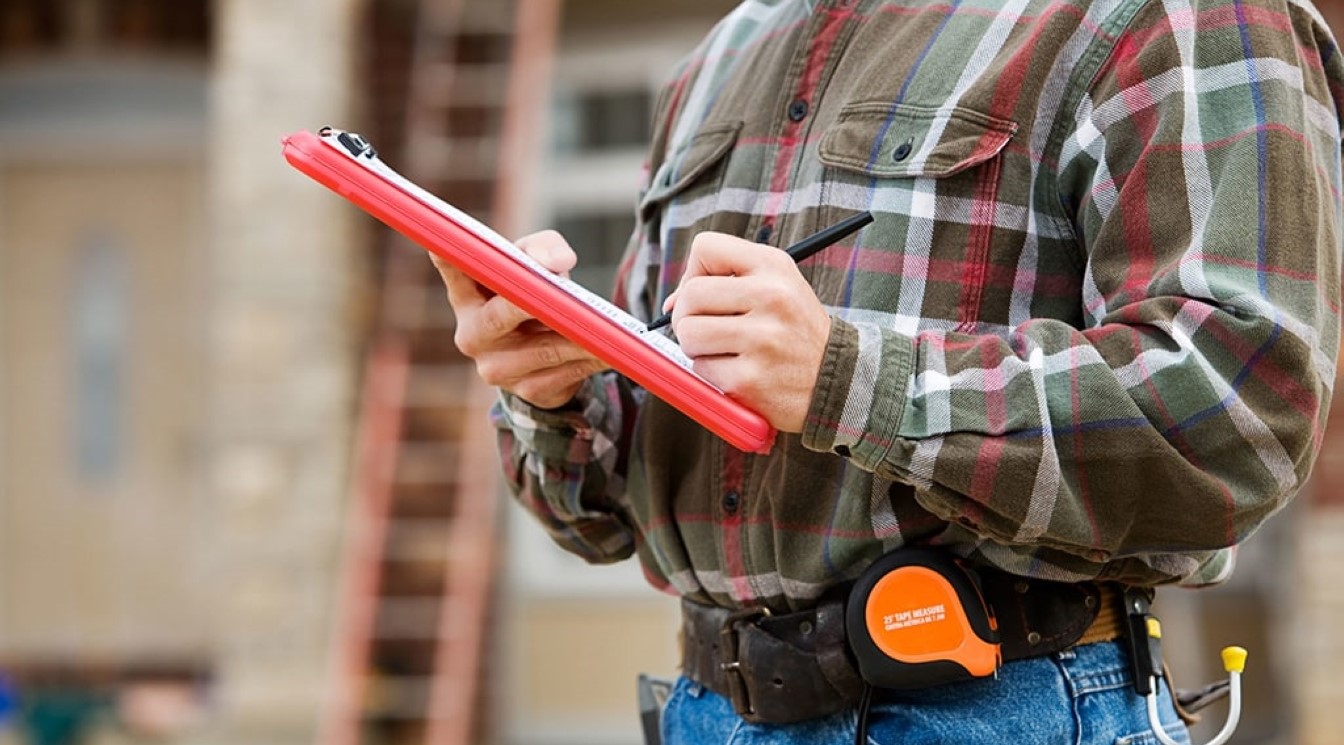
Evaluating Online Reviews and References

Before making your final decision, take the time to read online reviews and ask for references. This step can provide valuable insights into a roofer’s reliability and the quality of their work.

  • Consistency: Look for consistent positive feedback across multiple review platforms.
  • Detailed Reviews: Pay attention to detailed reviews that mention specific aspects of the service.
  • References: Don’t hesitate to ask for references from past clients to get a firsthand account of their experience.

This Florida roofer guide suggests using reviews and references as tools to ensure you’re making the best choice for your roofing project.

Red Flags to Avoid: Ensuring a Safe Roofing Experience

When choosing a roofer, be on the lookout for warning signs that could indicate potential problems. This Florida roofer guide provides tips on avoiding common pitfalls.

  • High-Pressure Sales Tactics: Beware of roofers who rush you into making a decision. A reputable roofer will give you the time and information needed to make an informed choice.
  • Unusually Low Estimates: If a bid seems too good to be true, it probably is. Low estimates can indicate subpar materials or workmanship.
  • Lack of a Written Contract: Always insist on a detailed written contract to protect yourself from misunderstandings or disputes.

Homeowners in Florida should prioritize finding a -.

Additional Considerations: Questions to Ask

Before finalizing your decision, ask the roofer these important questions:

  • What warranties do you offer?
  • Can you provide a detailed timeline?
  • How will you handle cleanup and disposal?

These questions, outlined in this Florida roofer guide, will help ensure you’re choosing a contractor who is both reliable and transparent.

FAQs: Answering Your Roofing Questions

This Florida roofer guide wouldn’t be complete without addressing some common questions homeowners have when choosing a roofer.

Q1: How often should I have my roof inspected?

  • A: It’s recommended to inspect your roof annually and after major storms.

Q2: Can a new roof increase my home’s value?

  • A: Yes, a new roof can enhance curb appeal, energy efficiency, and overall home value.

Q3: Is it possible to install a new roof over the old one?

  • A: While possible, it’s generally not recommended. Removing the old roof allows for a thorough inspection and addresses underlying issues.

Before starting any roofing work, make sure to -.

Mastering Ductwork Installation: The Secrets to Avoiding Common Pitfalls

When it comes to HVAC systems, your ductwork is the lifeline that keeps everything running smoothly. Yet, even the most sophisticated HVAC systems can be rendered inefficient by common ductwork installation errors. These mistakes not only spike your energy bills but also compromise the comfort of your living spaces. Let’s dive deep into the most frequent errors, and discover how to avoid them to ensure your HVAC system delivers peak performance. For Long-term efficiency, it’s crucial to invest in -.

The Foundation of Superior HVAC Performance

Ductwork isn’t just about air distribution; it’s the backbone of your entire HVAC system. Ensuring that your ductwork is installed without any ductwork installation errors is crucial to maintaining a comfortable and energy-efficient environment. Here’s how to build a strong foundation for your system.

Why Ductwork Matters

The primary role of ductwork is to deliver conditioned air throughout your home or office. Poorly installed ductwork can lead to a myriad of problems, from uneven temperature distribution to skyrocketing energy costs. Understanding the importance of proper installation can help you avoid these issues.

Common Issues Resulting from Poor Installation:

  • Uneven temperature distribution across rooms
  • Increased energy consumption
  • Frequent HVAC system breakdowns
  • Shortened lifespan of HVAC components

Essential Steps for Error-Free Installation

  • Thorough Planning: Start by designing a ductwork layout that fits your space perfectly. Avoid the temptation to skip this critical step, as it sets the stage for the entire installation process.
  • Precise Measurements: Ensure all ducts are measured accurately to avoid ductwork installation errors related to sizing. Improperly sized ducts can lead to inefficient airflow and system strain.
  • Professional Execution: Always rely on skilled professionals to handle the installation. Experienced technicians know how to avoid common pitfalls that could compromise the system’s efficiency.

Navigating the Most Common Ductwork Installation Errors

Mistake #1: Ignoring the ACCA’s Manual D Guidelines

One of the most glaring ductwork installation errors is neglecting the ACCA’s Manual D guidelines, which are designed to optimize ductwork layout and airflow. Failing to follow these guidelines can result in a system that struggles to maintain consistent temperatures and wastes energy.

Consequences of Ignoring Manual D:

  • Inefficient air distribution
  • Pressure imbalances within the system
  • Increased wear and tear on the HVAC unit

Solution: Always design your ductwork according to Manual D guidelines to ensure optimal performance and efficiency.

Mistake #2: Incorrect Duct Sizing

Another common error is incorrect duct sizing. Ducts that are too small can restrict airflow, while oversized ducts may lead to pressure drops and uneven heating or cooling. Both scenarios can strain your HVAC system and increase energy usage.

Signs of Incorrect Duct Sizing:

  • Hot or cold spots in various rooms
  • Noisy operation due to airflow restrictions
  • Higher-than-usual energy bills

Solution: Conduct a thorough load calculation to determine the appropriate duct sizes for your space. Proper sizing is key to avoiding ductwork installation errors.

Mistake #3: Poor Sealing and Insulation

Leaks and poor insulation in your ductwork are among the most costly ductwork installation errors. These issues allow conditioned air to escape before it reaches its destination, forcing your HVAC system to work harder to compensate for the loss.

Impact of Poor Sealing and Insulation:

  • Significant energy loss
  • Higher operational costs
  • Decreased indoor comfort

Solution: Invest in high-quality sealing and insulation materials to prevent air leaks and maintain optimal efficiency.

Homeowners looking to save on energy bills should focus on -.

Going Beyond the Basics: Advanced Tips for Superior Ductwork Installation

Zoning Systems for Targeted Comfort

Implementing zoning systems can take your HVAC setup to the next level by allowing for precise temperature Control in different areas of your home or office. This not only improves comfort but also reduces the likelihood of ductwork installation errors related to improper air distribution. 

Benefits of Zoning Systems:

  • Customized climate control for each room
  • Reduced energy consumption
  • Enhanced system efficiency

Embracing Smart Technology

The integration of smart technology with your HVAC system can help you avoid ductwork installation errors by providing real-time feedback and automated adjustments. Smart thermostats, air quality sensors, and smart vents are just a few examples of how technology can enhance your system’s performance.

Advantages of Smart HVAC Systems:

  • Automated adjustments for optimal comfort
  • Real-time monitoring of system performance
  • Improved indoor air quality through smart filtration

Sustainable Ductwork Practices

Sustainability is no longer just a buzzword; it’s a necessity. When installing ductwork, consider using eco-friendly materials and practices that reduce your environmental impact. Not only does this help the planet, but it also aligns with modern building standards and regulations. Achieving a well-balanced indoor climate starts with -.

Sustainable Practices Include:

  • Using recyclable and durable duct materials
  • Designing systems for maximum energy efficiency
  • Incorporating renewable energy sources where possible

FAQs: Clearing Up Common Misconceptions

Q: How often should ductwork be inspected for errors?

A: To catch potential ductwork installation errors early, it’s recommended to have your ductwork inspected every 3 to 5 years.

Q: Can I fix ductwork installation errors myself?

A: While minor issues might be DIY-friendly, major ductwork installation errors should be addressed by professionals to ensure long-term system efficiency.

Q: Does poor ductwork affect indoor air quality?

A: Absolutely. Ductwork installation errors like leaks or poor sealing can allow dust, allergens, and other pollutants to circulate, degrading indoor air quality.

Q: What’s the impact of ductwork design on energy bills?

A: Inefficiently designed ductwork can lead to substantial energy loss, increasing your energy bills significantly. Avoiding ductwork installation errors is crucial for keeping costs low.

Conclusion: Elevate Your HVAC System with Flawless Ductwork Installation

The importance of avoiding ductwork installation errors cannot be overstated. From planning and sizing to sealing and insulation, every step in the ductwork installation process is crucial for the overall performance of your HVAC system. By understanding and implementing these best practices, you’ll not only ensure a comfortable living environment but also enjoy the benefits of reduced energy costs and a longer-lasting system.

Whether you’re planning a new installation or upgrading an existing system, remember that the key to a successful HVAC setup lies in the details. Avoiding common ductwork installation errors will help you maximize efficiency, enhance comfort, and protect your investment for years to come. To ensure your home stays comfortable year-round, consider - for optimal results.

Maximizing Your Shingle Roof Lifespan

Introduction: The Secret to a Shingle Roof Lifespan That Defies the Odds

When it comes to safeguarding your home, a long-lasting roof is non-negotiable. The Shingle Roof Lifespan is a critical factor that homeowners should prioritize, but achieving maximum longevity requires more than just quality shingles. It demands strategic maintenance, smart material choices, and an understanding of the environment. Let’s delve into the details of how you can ensure your Shingle Roof Lifespan exceeds expectations. To ensure the longevity of your roof, it’s important to - and follow expert recommendations.

The Building Blocks of a Durable Shingle Roof Lifespan

The foundation of a long-lasting roof lies in understanding and addressing the factors that influence its durability. Here’s how you can ensure your Shingle Roof Lifespan reaches its full potential:

1. Quality Over Everything: The Materials Matter

investing in high-grade shingles is the first step toward ensuring a durable roof. Not all shingles are created equal, and choosing the right type can significantly impact the Shingle Roof Lifespan.

  • 3-Tab Shingles: Affordable and lightweight, but with a Shingle Roof Lifespan of just 20-22 years.
  • Architectural Shingles: A sturdier option, offering a lifespan of 25-30 years, perfect for moderate climates.
  • Premium Shingles: The gold standard, with a Shingle Roof Lifespan of 30-50 years, ideal for extreme weather conditions.

2. The Power of Proper Installation: Setting the Stage for Longevity

A roof is only as good as its installation. Ensuring that your shingles are installed by experienced professionals can add years to your Shingle Roof Lifespan. Here’s what to consider:

  1. Experience: Choose a contractor with a proven track record.
  2. Licensing: Verify that the contractor is licensed and insured.
  3. Attention to Detail: Past projects and customer testimonials can provide insights into the contractor’s workmanship.
  4. Warranty: A good warranty is a sign of confidence in both the materials and the installation.

3. Regular Maintenance: The Key to a Long Shingle Roof Lifespan

Routine maintenance is essential in preserving your roof and extending the Shingle Roof Lifespan. Simple tasks like inspections and cleaning can prevent minor issues from becoming major headaches.

  • Inspections: Conduct yearly inspections to identify potential problems such as damaged shingles, moss growth, or debris buildup.
  • Cleaning: Keep your roof clean to ensure proper water drainage and to prevent damage that could shorten the Shingle Roof Lifespan.

Homeowners looking to improve their roof’s durability should consider - for optimal results.

How Weather and Climate Impact Your Shingle Roof Lifespan

Understanding how your local climate affects your roof is crucial in protecting and prolonging its life. The Shingle Roof Lifespan can vary dramatically depending on the environmental conditions it faces.

1. The Sun’s Scorching Heat: A Silent Roof Killer

In regions with high temperatures and intense sunlight, roofs can suffer from thermal degradation, which accelerates aging and reduces the Shingle Roof Lifespan. Homeowners in such areas should:

  • Choose Heat-Resistant Shingles: Opt for materials designed to withstand extreme heat.
  • Increase Inspection Frequency: Regularly check for signs of heat damage, such as cracked or curling shingles.

2. Battling the Elements: How Weather Can Wear Down Your Shingle Roof Lifespan

Harsh weather conditions, including heavy rain, snow, and hail, can take a toll on your roof. To protect and extend your Shingle Roof Lifespan:

  • Reinforce Vulnerable Areas: Pay special attention to areas prone to leaks, such as valleys and eaves.
  • Monitor for Granule Loss: Hailstorms can cause granules to shed from shingles, which can significantly reduce the Shingle Roof Lifespan.

3. The Role of Proper Ventilation in Shingle Roof Longevity

Adequate ventilation is often overlooked, yet it plays a vital role in maintaining your Shingle Roof Lifespan. Proper ventilation helps in regulating attic temperature and moisture levels, which are critical to preventing damage.

  • Prevent Ice Dams: In cold climates, proper ventilation helps prevent ice dams that can damage your roof.
  • Preserve Shingle Integrity: Good ventilation reduces heat buildup, helping to maintain the structural integrity of your shingles.

For those aiming to maintain a healthy roof, - is a crucial step in the process.

Maintenance Tips to Maximize Your Shingle Roof Lifespan

Maintaining a long-lasting roof requires a proactive approach. Here are some essential tips to ensure your Shingle Roof Lifespan reaches its maximum potential:

1. Implement a Routine Inspection Schedule

Regular inspections are the cornerstone of a long Shingle Roof Lifespan. Here’s how to do it effectively:

  1. Inspect Annually: Schedule inspections at least once a year, preferably before the start of a new season.
  2. Look for Signs of Wear: Check for cracked, curled, or missing shingles, and address issues immediately.
  3. Hire a Professional: While DIY inspections are valuable, a professional roofer can spot problems that you might miss.

2. Keep Your Roof Clean: A Simple Step for Longevity

Cleaning your roof is not just about aesthetics; it’s about preserving the Shingle Roof Lifespan. Here’s what you need to know:

  • Remove Debris: Clear leaves, branches, and other debris that can trap moisture and lead to rot.
  • Clean Gutters: Ensure that gutters are free of blockages to prevent water from backing up and damaging your roof.
  • Treat Moss and Algae: These can cause significant damage if left unchecked, so regular treatment is essential.

3. Know When It’s Time to Replace: Don’t Gamble with Your Shingle Roof Lifespan

No roof lasts forever, and knowing when to replace your shingles is key to avoiding costly damage. Here are the signs to watch for:

  • Missing Shingles: Indicates that your roof is no longer providing full protection.
  • Visible Damage: Cracked, curled, or discolored shingles are a sign that your roof is nearing the end of its life.
  • Age of the Roof: If your roof is over 20 years old, it’s time to start considering replacement options.

FAQs: Your Questions About Shingle Roof Lifespan Answered

What is the average Shingle Roof Lifespan?

The average Shingle Roof Lifespan is between 25-30 years with proper maintenance and favorable conditions. However, factors such as the type of shingles, installation quality, and climate can impact this.

How can I extend the Shingle Roof Lifespan?

Regular maintenance, including inspections and cleaning, using high-quality materials, and ensuring proper installation and ventilation are key to extending the Shingle Roof Lifespan.

What signs indicate it’s time to replace my roof?

Missing shingles, visible damage such as cracks or curling, and an aging roof (over 20 years old) are clear indicators that it’s time to replace your roof to avoid compromising its protection.

Conclusion: Ensuring a Long Shingle Roof Lifespan

A long-lasting roof is the result of strategic planning, careful material selection, and consistent maintenance. By focusing on quality, understanding your environment, and staying proactive with inspections and repairs, you can significantly extend the Shingle Roof Lifespan, ensuring your home remains protected for decades to come. By staying informed about -, you can better protect your home from potential damage.